
Setting up full-scale mailing lists
- Log in to the Tokyo Institute of Technology Portal with e-mail domain administrator credentials and click the "E-mail Management for Admin" menu under System Management.

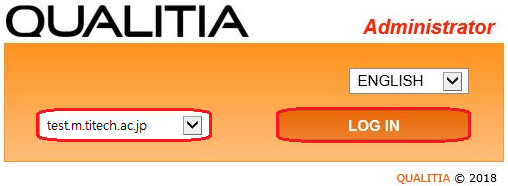
- Select the domain that you want to configure and click the "LOG IN" button.
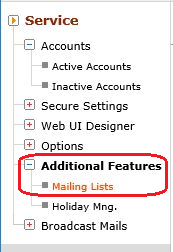
- Click the "Mailing Lists" link on the left side of the menu.
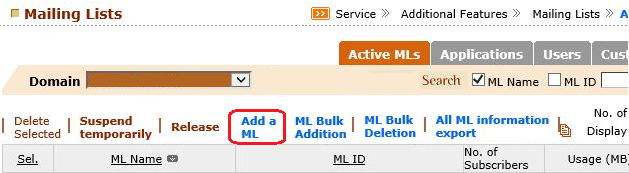
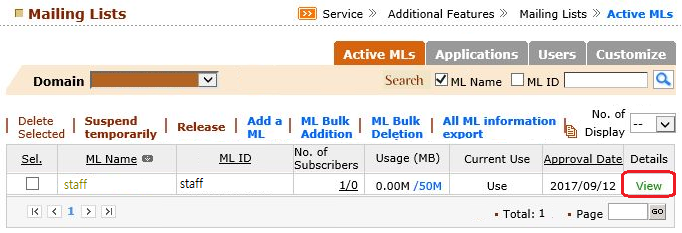
- Click "Add a ML" in the middle of the mailing list screen.
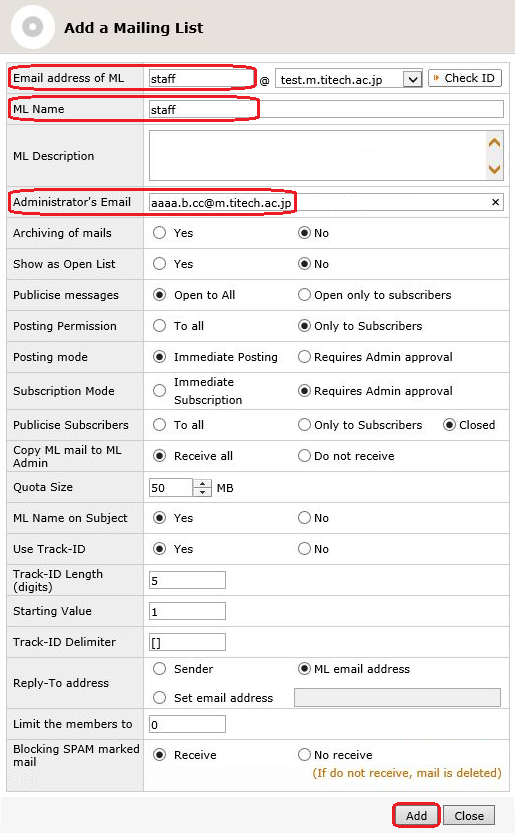
- Fill in the fields "Email address of ML", "ML Name", and "Administrator's Email"
and select the proper button in each sections to complete the ML settings.
Configure that settings is OK and click the "Add" button at the bottom of the screen.
Those who are registered a Tokyo Tech Mail address (m address) in the field of "Administrator's Email"
will be able to manage the mailing list using the "Mailing List" feature on the Portal,
even though they are not an e-mail domain administrator.
Main FunctionsPosting restrictions Posting is restricted to registered ML addresses only. Posting methods You can manage approvals with the "Mailing list" feature on the Portal menu.
To use this feature, the administrator e-mail address needs to be a Tokyo Tech Mail address.Receive e-mails from the ML administrator If you select "No", you will only receive post error messages. Show ML name The ML name is appended to the subject line of each e-mail post. Show sequence number The ML name is appended to the subject line of each e-mail post. Sequence number digits If the sequence number digits is set to "5", the sequence numbers range from 00001 to 99999. Initial sequence number The sequence number increases with every e-mail post. Parentheses type This setting lets you choose the style of parentheses to enclose the ML name and sequence number in. Reply-to settings This setting lets you specify an address to receive replies. Maximum number of members If you set this item to "0", you can register an unlimited number of members. Receive e-mails marked as spam This setting lets you choose whether to receive e-mails that your spam filters determine to be spam. - Once your settings for the ML is finished, the next step is to add users.
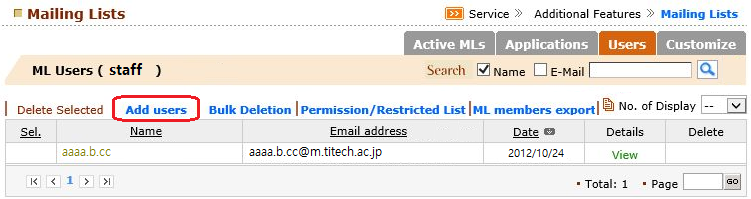
Click the number in the column showing the number of ML participants.

- Click "Add users" on the ML Users screen.
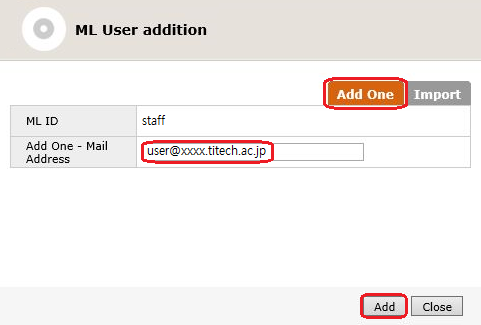
- To register users individually, click the "Add One" button on the right side of the top menu.
Enter an e-mail address which you wish to add and click the "Add" button.
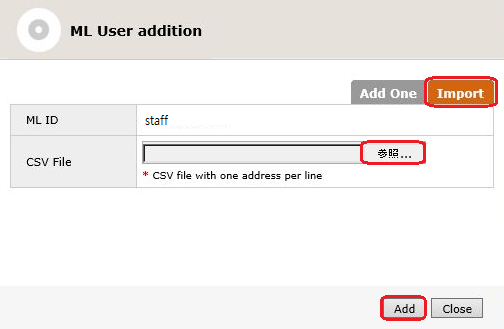
- To register users as a group, click the "Import" button on the right side of the top menu.
Click "参照 (Browse)" button, select a CSV file, and then click the "Add" button at the bottom of the screen.
CSV file format:
E-mail address 1
E-mail address 2
E-mail address 3
- To change your ML settings, click the "View" button on the right side of the screen.
If you would like to delete an ML, select the ML and click the "Delete Selected" button.
Return to the E-mail domain forwarding service page